
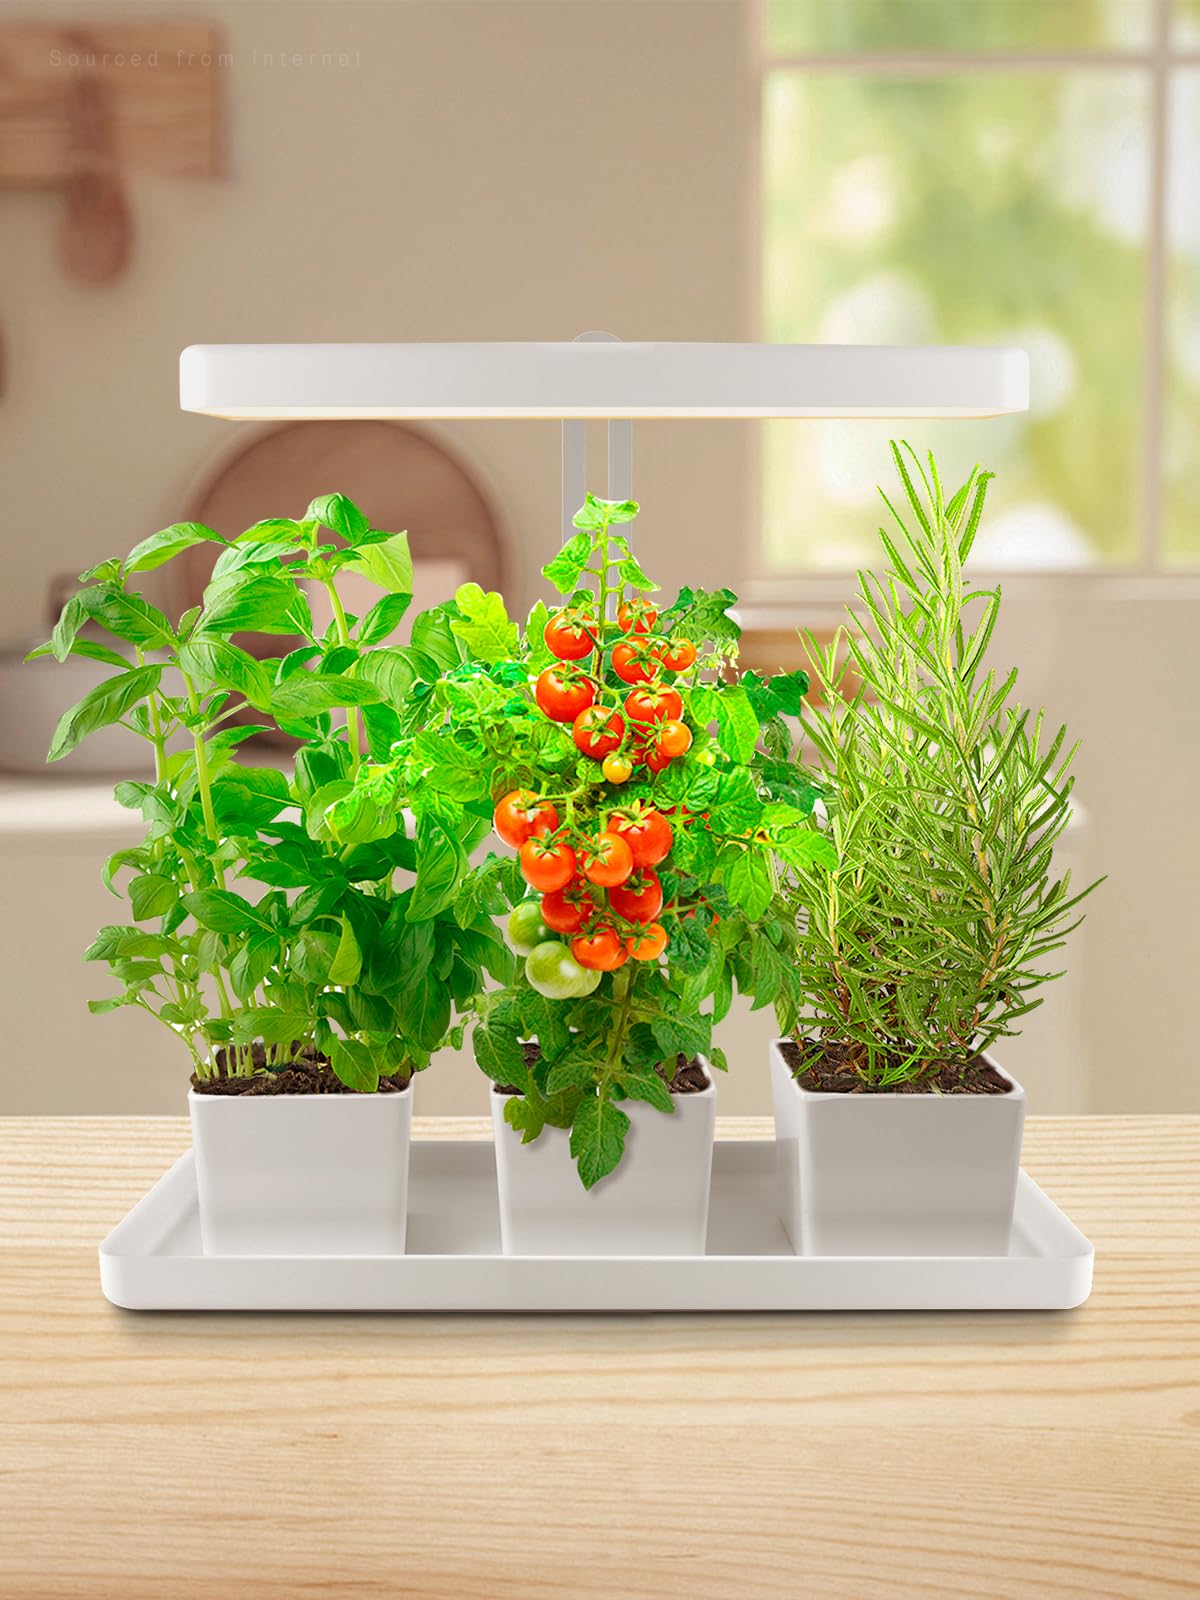
A grow light for herbs gives indoor herbs the sun’s spectrum, hours, and intensity.
If you want fresh basil in winter or mint by your desk, a good grow light for herbs makes it easy. I’ve tested many setups in small apartments and busy kitchens. In this guide, I’ll show you how light works for plants, what specs matter, and how to set up a reliable, low-heat, energy-smart grow light for herbs that keeps your greens lush and tasty.
What a grow light for herbs does and how it works
Plants eat light. The right grow light for herbs gives them the colors and strength they need for photosynthesis. Indoor light from windows changes by season and angle. A grow light fills that gap with steady, plant-ready light.
Three ideas help most:
- Spectrum means the colors of light. Herbs respond well to full spectrum with extra blue for leafy growth.
- Intensity is how much light hits the leaves. We measure this as PPFD. Higher PPFD means faster growth, within limits.
- Time is total hours per day. Most herbs love long days, like summer.
Studies show herbs grow best with a daily light dose that is even and repeatable. A simple timer on your grow light for herbs keeps that pattern.

Types of grow lights for herbs
Different lamps can keep herbs happy. Here is what I use and why.
- LED panels or bars are my top pick. They are efficient, cool, slim, and last long. Look for full spectrum, dimming, and a high efficiency number.
- T5 fluorescent works for seedlings and small shelves. It is cheap and gentle but uses more power and runs warmer than LEDs.
- HID lamps are bright but hot. They can be too intense for counter herbs and cost more to cool.
- Incandescent or halogen are poor for plants. They waste power as heat and have the wrong spectrum.
For a compact kitchen garden, an LED grow light for herbs is hard to beat. It gives bright light with low heat, so basil does not wilt near the fixture.

Key specs that matter for herbs
When you shop for a grow light for herbs, focus on a few specs that affect growth.
- PPFD at the plant canopy. Aim for about 200–400 µmol/m²/s for leafy herbs.
- Spectrum. Choose full spectrum white with a mix of 400–700 nm. A color temperature of 3500K–5000K works well for leaves.
- Efficiency. Look for 2.2 µmol/J or higher. Better efficiency cuts power bills.
- Dimming and timer. Dimming helps you avoid leaf burn. A timer keeps a steady day length.
- Coverage area. The light should cover your pot group at the proper height.
- Heat and noise. Quiet drivers and low heat protect tender leaves.
- Build and safety. Check for proper certification and safe power cords.
With these specs, a grow light for herbs can match summer sun feel without the heat or guesswork.

How to size and place a grow light for herbs
Light falls off fast with distance. Good placement matters as much as buying the right lamp.
- Measure your garden area. A 2×2 foot space needs a fixture rated for that coverage.
- Start height. Place an LED grow light for herbs 12–18 inches above the canopy. Adjust based on leaf response.
- Watch your leaves. If they stretch, lower the light or raise power. If tips curl or bleach, raise the light or dim it.
- Reflective surroundings help. White walls or a simple reflector bounce light back to the plants.
Phone apps can estimate PPFD, but they are rough. I use them to compare spots, not for final numbers. Your herbs will tell you the truth by how they look.

Light schedules and targets for common herbs
Most leafy herbs act like long-day plants. Use these simple targets for your grow light for herbs.
- Basil. 14–16 hours light, moderate to bright PPFD. Keep warm for best flavor.
- Cilantro. 12–14 hours, gentle to moderate PPFD. Cooler temps slow bolting.
- Parsley. 14–16 hours, moderate PPFD. Grows slow but steady.
- Mint. 12–16 hours, low to moderate PPFD. Spreads fast with steady light.
- Thyme and rosemary. 12–14 hours, moderate light, good airflow. They prefer drier roots.
- Chives and dill. 14–16 hours, moderate PPFD. Thin often to prevent crowding.
If you prefer one simple rule, set your grow light for herbs to 14 hours on and 10 hours off, then tweak brightness until leaves look compact and richly green.

Step-by-step setup for a stress-free start
Follow this quick plan to dial in your grow light for herbs.
- Choose your space. A shelf, counter, or cart near power is ideal.
- Pick pots with drainage. Use a light potting mix for herbs.
- Mount the light. Hang or clamp so you can raise and lower it.
- Set a timer. Start with 14 hours on each day.
- Start dim at first. Run about 60–70% power for a week.
- Watch leaves. Adjust height or dimmer to stop stretch or tip burn.
- Feed and water. Bright light increases thirst and nutrient use.
- Harvest often. Regular cuts keep herbs compact and tasty.
This routine keeps your grow light for herbs simple and repeatable.

Common problems and easy fixes
Most issues trace back to light, water, or heat. Here is how I fix them.
- Leggy, weak stems. Not enough light. Lower the fixture or increase power.
- Yellowing leaves. Can be low nitrogen or too little light. Feed lightly and raise PPFD.
- Brown, crispy tips. Light or heat stress. Lift the light, add airflow, or dim.
- Leaves bleaching white. Too much intensity. Raise the light and reduce hours for a few days.
- Slow growth in winter. Increase hours by 1–2, and keep roots warm.
A steady grow light for herbs reduces swings, so small tweaks go a long way.

Budget vs premium: what to buy and why
You do not need to overspend. Match the tool to your space.
- Under $50. Small LED bars or clip-ons. Good for a single pot or a narrow rail of herbs. Use two bars for even coverage.
- $50–$120. Mid-size LED panels with dimming and timers. Great all-round choice for a 2×2 foot herb garden.
- $120–$250+. High-end LED bars or boards with high efficiency and even PPFD. Best for larger racks or if you want faster regrowth after harvest.
When value matters, I buy a mid-range grow light for herbs with solid efficiency and a quiet driver. It pays for itself with steady harvests and lower power use.

Energy, safety, and upkeep
A bit of planning keeps costs and risks low.
- Power cost. Multiply lamp watts by hours per day, then by your local rate. Dimming saves money.
- Heat and airflow. Give a little space above the light and use a small fan if leaves feel warm.
- Safety. Use a surge protector and keep cords dry. If near a sink, use a GFCI outlet.
- Cleaning. Wipe the lens monthly. Dust can cut light by more than you think.
- Lifespan. Quality LEDs can run for years. Dim as needed rather than pushing at full power all the time.
With a safe setup and simple care, a grow light for herbs runs worry-free year round.

Frequently Asked Questions of grow light for herbs
How many hours should I run a grow light for herbs?
Most herbs do well with 12–16 hours per day. I start at 14 hours and adjust based on growth and leaf color.
How close should a grow light for herbs be to plants?
For LEDs, begin at 12–18 inches above the leaves. If stems stretch, move closer; if tips burn, move away.
What color light is best for herbs?
Full spectrum white works best for steady growth and good flavor. A bit more blue helps keep herbs compact.
Can a grow light for herbs replace a sunny window?
Yes, if it provides the right intensity and schedule. Many growers combine both for the best results.
Will grow lights make my kitchen too hot?
Modern LEDs run cool compared to old bulbs. Keep some airflow, and you should be fine.
Do I need a timer for my grow light for herbs?
A timer removes guesswork and keeps plants on a steady rhythm. It also saves energy and prevents over-lighting.
Can I use one light for different herbs?
Yes. Group similar light needs together and use dimming or height changes to balance the canopy.
Conclusion
A reliable grow light for herbs makes fresh flavor a daily habit, not a summer luxury. Choose a full spectrum LED, set a simple 14-hour schedule, place it well, and tweak height with your plants’ signals. Start small, harvest often, and build your indoor garden with confidence.
Ready to grow? Put these steps to work this week, then share your results or questions so we can fine-tune your setup together.